Chemical Peel Guide: Types, Benefits, and What to Expect
If you’ve ever wondered how to achieve smoother, brighter skin, you’re in the right place. A chemical peel is a popular treatment that removes dead skin layers to reveal a fresher, more youthful appearance. I’ve spent years researching and experiencing these treatments, and I’m excited to share my insights with you.
This guide will walk you through the different types of peels, including those with glycolic acid and salicylic acid, and their unique benefits. Whether you’re looking to reduce acne, fade dark spots, or simply refresh your skin, there’s a peel for you. I’ll also cover what to expect before, during, and after the procedure, so you can feel confident and prepared.
My goal is to make this process easy to understand and accessible. Let’s dive in and explore how a chemical peel can transform your skincare routine!
Key Takeaways
- Chemical peels remove dead skin layers for a renewed look.
- Glycolic acid and salicylic acid are key ingredients in many peels.
- Different peels target specific skin concerns like acne or aging.
- Results vary based on the depth of the peel used.
- Proper aftercare, including sunscreen, is essential for best results.
Introduction to Chemical Peels
Ever thought about how to refresh your skin with a simple yet effective method? A chemical peel might be the answer. This treatment uses special solutions to exfoliate the skin, helping to improve texture and reduce imperfections like acne and dark spots. Let’s break it down in a way that’s easy to understand.
What Are Chemical Peels?
At its core, a chemical peel is a process where an acid solution is applied to the skin. This solution works to break down the outer layer of dead skin cells, promoting cell turnover and revealing fresher skin underneath. Depending on the type of peel, it can target different concerns, from fine lines to uneven tone.
For example, glycolic and salicylic acids are commonly used in these treatments. Glycolic acid is great for brightening, while salicylic acid is perfect for tackling acne. The depth of the peel determines how much of the skin’s layer is affected, with superficial peels being the mildest and deep peels offering more dramatic results.
My First Encounter with a Chemical Peel
I remember my first time trying this treatment. I was nervous but excited. The process was quick, and I felt a slight tingling sensation as the solution was applied. Over the next week, I noticed my skin becoming smoother and more even. It was a game-changer for my skincare routine.
Here’s a quick breakdown of what to expect:
| Stage | What Happens |
|---|---|
| Application | The acid solution is applied to the skin, causing mild tingling. |
| Healing | New skin cells form, with reepithelialization often complete within a week. |
| Results | Smoother, brighter skin with reduced imperfections. |
This treatment is all about timing. The solution needs to stay on the skin for the right amount of time to be effective without causing irritation. Whether you’re new to this or considering it again, understanding the process can make all the difference.
Skin Science: How Chemical Peels Work
Understanding the science behind skin renewal can help you make informed skincare choices. These treatments work by triggering a controlled injury to the skin, which kickstarts the healing process. This leads to the production of new collagen and elastin, giving you smoother, firmer skin.

The Role of Acids in Skin Renewal
Acids like glycolic and salicylic play a key role in this process. Glycolic acid, derived from sugar cane, is great for brightening and exfoliating. Salicylic acid, on the other hand, is perfect for tackling acne and unclogging pores.
These acids break down the outer layer of dead skin cells, promoting cell turnover. This reveals fresher, healthier skin underneath. The type of acid used depends on your specific skin concerns.
Stimulating Collagen Production
One of the most exciting aspects of these treatments is their ability to stimulate collagen production. Collagen is a protein that keeps your skin firm and youthful. By creating controlled injury, the treatment encourages your skin to produce more of it.
This process, known as keratocoagulation, triggers a healing cascade. Over time, you’ll notice improved texture and reduced imperfections. It’s like giving your skin a fresh start.
Here’s a quick breakdown of how it works:
- Controlled Injury: The treatment creates a mild injury to the skin.
- Healing Cascade: This triggers the production of new collagen and elastin.
- Visible Results: Over time, your skin becomes smoother and more radiant.
Understanding this science helped me choose the right product for my skin. Whether you’re dealing with acne, dark spots, or aging, there’s a solution tailored to your needs.
Exploring Different Types of Chemical Peels
Choosing the right treatment for your skin can feel overwhelming, but understanding the options makes it easier. Treatments vary in depth, targeting different layers of the skin to address specific concerns. Let’s explore the three main types: superficial, medium, and deep.

Superficial Treatments
Superficial treatments are the mildest option, targeting the outermost layer of the skin. They use a light application of acids like glycolic or lactic acid. This procedure is perfect for brightening the tone and improving texture on the face.
I’ve found these treatments ideal for beginners or those with sensitive skin. They require minimal downtime, and results are visible within a few days. For example, glycolic acid helps reduce minor blemishes and gives the skin a fresh glow.
Medium Treatments
Medium treatments go a bit deeper, addressing the outer layers of the dermis. They’re great for tackling moderate wrinkles, uneven tone, and acne scars. Trichloroacetic acid (TCA) is a common choice for this procedure.
I’ve noticed that these treatments require a bit more recovery time, but the results are worth it. They’re particularly effective for improving the texture of the skin in specific areas, like the cheeks or forehead.
Deep Treatments
Deep treatments are the most intensive, penetrating the lower dermal layers. They’re designed for severe concerns like deep wrinkles, significant sun damage, or scarring. Phenol is often used in this procedure.
While the recovery period is longer, the results can be transformative. I’ve seen how these treatments can dramatically improve the tone and texture of the skin, especially on the face. However, they’re best suited for those with specific needs and a longer recovery window.
When choosing the right depth, it’s essential to consider your skin’s unique needs. For example, superficial treatments are great for a quick refresh, while deep treatments address more significant concerns. If you’re dealing with hyperpigmentation, a medium treatment might be the perfect balance.
Chemical Peel Guide: Types, Techniques, and Tools
Your skin’s needs are unique, and so should be your skincare approach. When it comes to treatments, understanding the techniques and tools involved can make all the difference. Let’s dive into the details to help you make an informed choice.

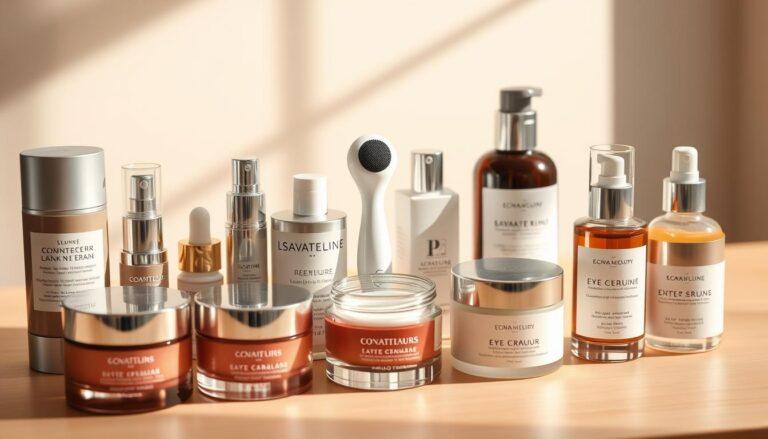
Glycolic Acid, Salicylic Acid, and Other Solutions
Glycolic and salicylic acids are two of the most popular solutions used in treatments. Glycolic acid, derived from sugar cane, is excellent for brightening and exfoliating. It’s perfect for those looking to reduce fine lines and even out their skin type.
Salicylic acid, on the other hand, is a go-to for acne-prone skin. It penetrates deep into pores, unclogging them and reducing the appearance of scars. Both acids work wonders, but the choice depends on your specific concerns.
Other solutions, like lactic acid, are gentler and ideal for sensitive skin. Each option has its pros and cons, so it’s essential to consult a professional to find the best fit for you.
Choosing the Right Peel for My Skin Type
When I first explored these treatments, I focused on my skin type and concerns. For example, I wanted to minimize scars and achieve smoother skin. After researching, I opted for a medium-depth treatment with glycolic acid.
Results didn’t happen overnight. It took a few months of consistent care to see a noticeable improvement. Post-treatment, I used soothing ointment to calm my skin and speed up recovery.
Here’s a quick guide to help you choose:
- Superficial: Best for mild concerns and sensitive skin.
- Medium: Targets moderate issues like scars and uneven tone.
- Deep: Ideal for severe concerns but requires longer recovery.
If you’re dealing with acne, check out this acne-prone skincare routine for additional tips.
Benefits of Chemical Peels for Acne, Aging, and Hyperpigmentation
Achieving clearer, more youthful skin is easier than you think with the right treatment. These procedures offer a range of benefits, from reducing acne to smoothing fine lines and improving overall tone. Let’s explore how they can transform your skincare routine.

Smoothening Fine Lines and Rhytides
One of the most noticeable benefits is the reduction of fine lines and wrinkles. The treatment stimulates collagen production, which helps plump the skin and smooth out imperfections. Over time, you’ll see a visible improvement in texture and firmness.
I’ve personally noticed how consistent treatments can diminish the appearance of aging. After just a few days, my skin felt smoother and looked more radiant. It’s a great way to turn back the clock without invasive procedures.
Improving Skin Tone and Texture
Uneven tone and texture can be frustrating, but these treatments are highly effective at addressing these concerns. They work by exfoliating the outer layer of skin, revealing a fresher, more even complexion underneath.
For example, I’ve seen a significant reduction in redness and dark spots after just one session. The application process is quick, and results are often visible within a day or two. It’s a game-changer for anyone struggling with hyperpigmentation or acne scars.
Here are some key benefits to consider:
- Reduced Acne: Unclogs pores and minimizes breakouts.
- Even Tone: Fades dark spots and evens out skin tone.
- Smoother Texture: Promotes cell turnover for a fresher look.
Consistency is key. Regular treatments, spaced over days or weeks, yield the best results. With proper care, you’ll enjoy lasting improvements in your skin’s appearance.
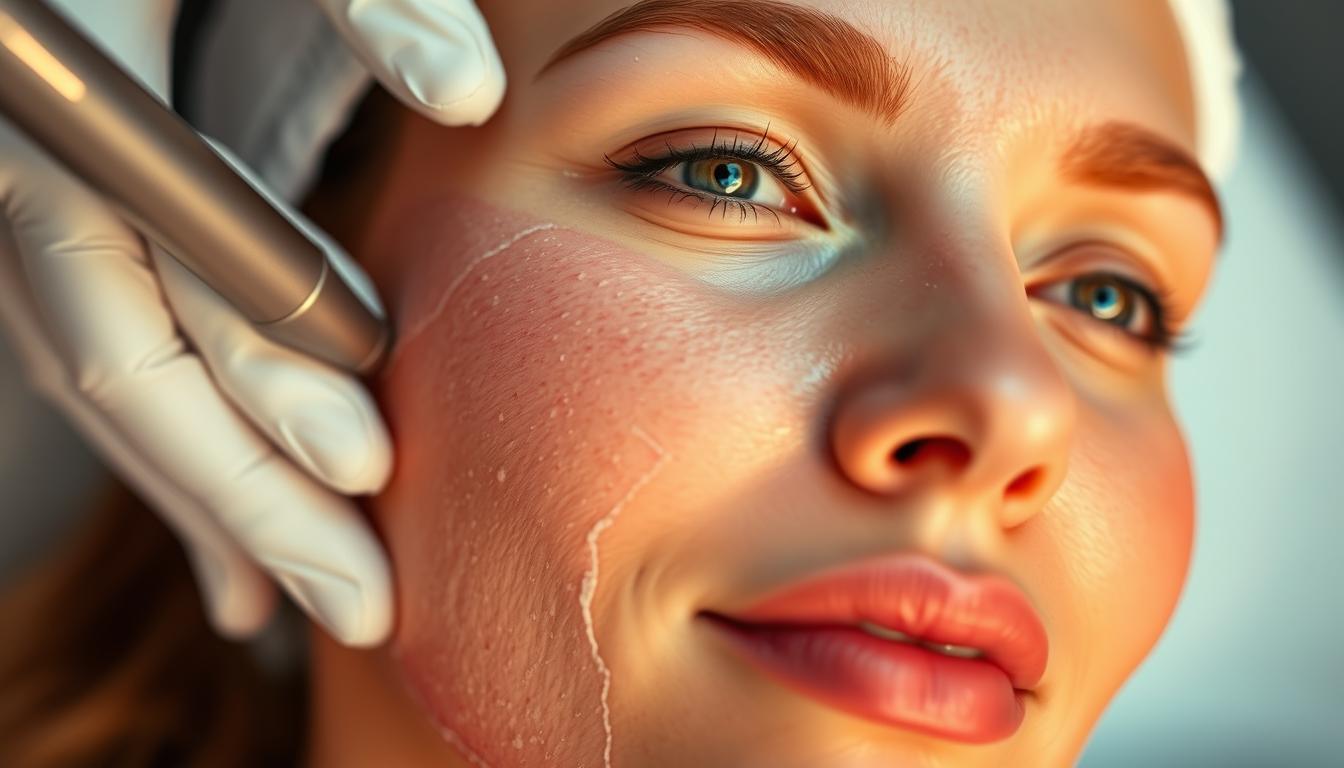
What to Expect During a Chemical Peel Procedure
Curious about what happens during a skin treatment? Let’s break it down step by step. Whether you’re new to this or have tried it before, understanding the process can help you feel more confident and prepared.
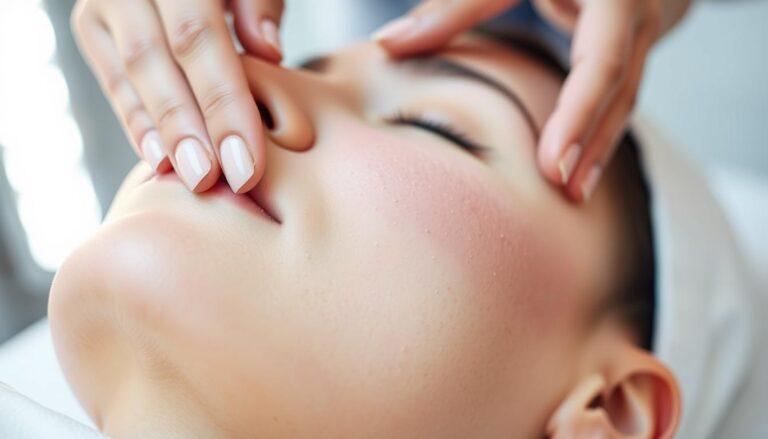
A Step-by-Step Overview of the Treatment
The procedure begins with a thorough cleansing of your skin. This ensures that the treatment solution can work effectively. Next, the solution is carefully applied to your skin. You might feel a slight tingling or warmth, which is completely normal.
During the application, the professional will monitor your skin’s reaction to ensure safety and minimize the risk of scarring. The solution is left on for a specific amount of time, depending on your skin’s needs. Afterward, it’s neutralized and removed, leaving your skin ready for the next steps.

| Stage | What Happens |
|---|---|
| Cleansing | Your skin is prepped to ensure optimal results. |
| Application | The solution is applied, and you may feel a mild tingling sensation. |
| Neutralization | The solution is removed, and your skin is soothed. |
My Personal Checklist for Preparation
Before my first treatment, I made sure to follow a few key steps. First, I avoided sun exposure for at least 10 days to reduce the risk of discoloration. I also stopped using strong exfoliants and prescription acne medications a week prior.
Here’s what I recommend:
- Avoid Sun Exposure: Protect your skin to prevent irritation.
- Skip Harsh Products: Stop using exfoliants and retinoids.
- Stay Hydrated: Drink plenty of water to support your skin’s healing process.
Minimizing Scarring and Maximizing Results
One of my biggest concerns was the risk of scarring. However, I learned that proper technique and aftercare can significantly reduce this risk. The professional carefully monitors your skin’s reaction during the treatment to ensure safety.
After the procedure, it’s crucial to follow the post-treatment instructions. This includes avoiding sun exposure, using gentle skincare products, and keeping your skin hydrated. These steps help maintain the improved appearance and prevent complications.
By following these guidelines, I noticed a visible effect on my skin within days. The texture became smoother, and my complexion looked more even. Consistency and proper care are key to achieving lasting results.
Post-Peel Recovery and Aftercare
Taking care of your skin after a treatment is just as important as the procedure itself. Proper aftercare can minimize risk and ensure your skin heals effectively. I’ll walk you through my recovery process and share tips to keep your skin in its best condition.

Managing Redness and Healing Time
Redness is common after a treatment, but it usually subsides within a few days. To speed up healing, I avoid direct sun exposure and use a gentle cleanser. Moisturizing frequently also helps reduce dryness and irritation.
Here’s what I do to manage redness:
- Avoid Harsh Products: Skip exfoliants and retinoids for at least two weeks.
- Stay Hydrated: Drink plenty of water to support skin recovery.
- Use Sunscreen: Apply SPF 30 or higher to protect sensitive skin.
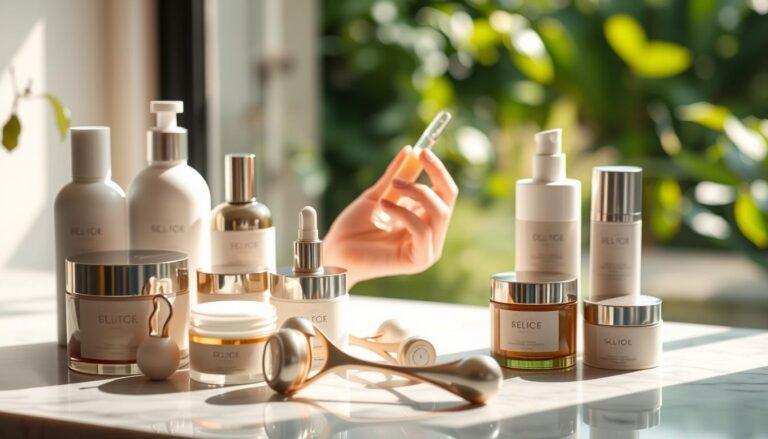
My Go-To Skincare Routine After a Treatment
Once the initial recovery phase is over, I follow a simple yet effective routine. This helps maintain my skin’s condition and prevents issues like hyperpigmentation.
Here’s my step-by-step routine:
- Cleanse: Use a mild cleanser to remove impurities without irritation.
- Moisturize: Apply a hydrating cream to keep skin soft and supple.
- Protect: Finish with sunscreen to shield against UV damage.
By sticking to this routine, I’ve noticed my skin stays healthy and radiant. Consistency is key to achieving lasting results.
Risks, Side Effects, and Considerations
Navigating the potential risks of skin treatments can feel overwhelming, but knowledge is your best defense. While these procedures offer incredible benefits, it’s essential to understand the possible side effects and how to avoid them. From sun sensitivity to improper application, being informed can make all the difference.
Common Pitfalls and How to Avoid Them
One of the most common mistakes is overexposure to the treatment solution. Leaving it on for too long can irritate the skin and damage the deeper layer skin. I’ve learned that following the professional’s instructions is crucial to avoid this. They know exactly how long the solution should stay on for optimal results.
Another pitfall is improper aftercare, especially when it comes to sun protection. After a treatment, your skin is more sensitive to UV rays. I always wear sunscreen with SPF 30 or higher and avoid direct sun exposure for at least a week. This helps prevent discoloration and keeps my skin healthy.

- Follow Professional Guidance: Always consult a licensed expert to ensure the treatment is tailored to your skin’s needs.
- Limit Exposure: Avoid overexposure to the solution and follow the recommended application time.
- Protect Your Skin: Use sunscreen and avoid harsh products during recovery.
As the saying goes,
“Prevention is better than cure.”
Taking these steps can minimize risks and ensure a smoother recovery. If you have sensitive skin, consider exploring thissensitive skin care routinefor additional tips.
Lastly, I can’t stress enough the importance of professional guidance. A skilled expert will monitor your skin’s reaction and adjust the treatment accordingly. This reduces the risk of complications and ensures the best possible results.
My Personal Journey and Insights with Chemical Peels
Over the years, I’ve discovered that every skin treatment tells a unique story. My history with these procedures has been a mix of trial, error, and transformation. From addressing fine lines to correcting dark spots, each experience has brought me closer to my aesthetic goal.

Lessons Learned from Each Treatment
One of the most valuable lessons I’ve learned is the importance of patience. After my first treatment, I expected instant results, but it took a few days for my skin to show improvement. By day seven, I noticed a significant reduction in dark spots and a brighter complexion.
Another key takeaway is the need for proper aftercare. I’ve found that using gentle products and avoiding sun exposure helps maintain the results. As one expert shared,
“Your skin’s recovery is just as important as the treatment itself.”
Here are some actionable insights from my journey:
- Track Progress: Keeping a detailed record of each treatment helps identify what works best for your skin.
- Set Realistic Goals: Understand that results take time and consistency is key.
- Consult Professionals: A licensed expert can tailor the treatment to your specific needs.
My history with these treatments has taught me that there’s no one-size-fits-all solution. Whether you’re targeting fine lines or uneven tone, understanding your skin’s unique needs is the first step toward achieving your goal.
Conclusion
Transforming your skin doesn’t have to be complicated—small steps can lead to big results. Through my journey, I’ve seen how treatments can refresh and rejuvenate, leaving skin smoother and more radiant. Proper care, including the use of retinoids when recommended, plays a crucial role in maintaining these results.
One of the most exciting benefits is the boost in collagen production, which helps keep skin firm and youthful. Consistency is key. Whether it’s protecting your skin from the sun or following a gentle routine, these habits ensure long-lasting improvements.
I encourage you to seek professional advice and share your experiences as you explore your options. Every skin journey is unique, and learning from others can be incredibly helpful. Here’s to healthier, glowing skin—one step at a time!