Dermarolling Guide: Benefits, Technique, and Aftercare for Micro-needling at Home
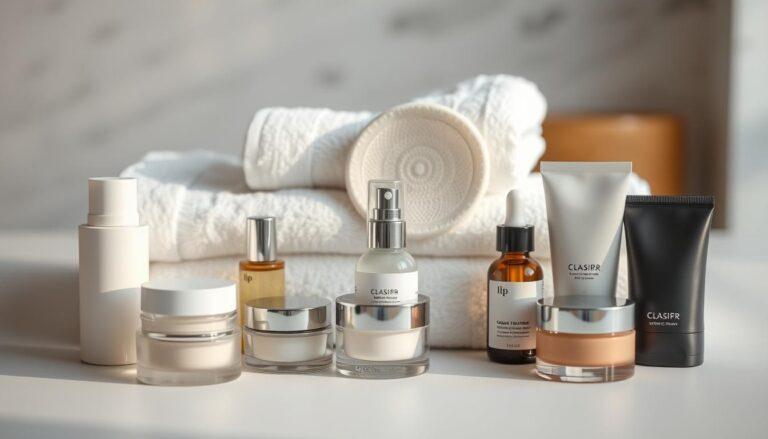
Microneedling is a popular at-home treatment that uses a small roller with tiny needles to improve your skin. This process helps stimulate collagen production, which can reduce wrinkles, acne scars, and even out your skin tone. It’s a simple yet effective way to achieve smoother, healthier-looking skin.
The roller works by creating tiny punctures in the skin’s surface. These micro-injuries trigger your body’s natural healing process, boosting collagen and elastin production. Over time, this can lead to firmer, more radiant skin. Plus, it enhances the absorption of skincare products, making them more effective.
While microneedling is minimally invasive, it’s important to follow the right steps to ensure safety and effectiveness. This guide will walk you through everything you need to know, from choosing the right needle length to proper aftercare.
Key Takeaways
- Microneedling stimulates collagen production for smoother skin.
- It reduces wrinkles, acne scars, and uneven skin tone.
- The roller enhances the absorption of skincare products.
- Proper technique ensures safe and effective results.
- Aftercare includes hydration and sun protection.
Introduction to Dermarolling and Micro-needling
Discover how a simple device can rejuvenate your skin naturally. Microneedling, often done with a roller, is a popular at-home treatment that helps improve skin texture and appearance. This method uses tiny needles to create micro-injuries, which stimulate your skin’s natural healing process.
What is Dermarolling?
Dermarolling involves a small roller covered with fine needles. When rolled over the skin, it creates tiny punctures. These micro-injuries trigger your body to produce more collagen and elastin, essential proteins for firm, youthful skin. Over time, this process can reduce fine lines, scars, and uneven texture.
The device also enhances the absorption of skincare products, like serums, making them more effective. This dual action—skin regeneration and better product use—makes dermarolling a powerful tool for achieving healthier skin.
Benefits for Your Skin Health
Microneedling offers numerous benefits for your skin. Here are some key advantages:
- Reduced Fine Lines and Wrinkles: The boost in collagen helps smooth out aging signs.
- Improved Skin Texture: Regular use can make your skin feel softer and look more even.
- Scar Minimization: It’s effective for reducing acne scars and other blemishes.
- Enhanced Product Absorption: Your skincare products penetrate deeper, working more effectively.
Understanding these basics is crucial for successful at-home treatments. With the right technique and aftercare, you can achieve noticeable results over time.
Why a Dermarolling Guide is Essential for At-Home Treatments
Using a microneedling device at home requires careful guidance for safe and effective results. Without proper knowledge, you risk damaging your skin or reducing the effect of the treatment. A detailed guide ensures you follow the right steps, from disinfecting your tools to applying the correct pressure.

One of the biggest concerns with at-home treatments is the risk of infection. Proper disinfection of your device is crucial. Studies recommend soaking the roller in 70% isopropyl alcohol for at least 10 minutes after each use. This simple step can prevent bacteria from entering the treated area.
Understanding the At-Home Process
A guide helps you avoid common mistakes, like using the wrong needle length or rolling too aggressively. For beginners, a 0.3mm or 0.5mm roller is ideal. Over time, you can gradually increase the needle size for deeper results. Remember, patience is key—spacing out treatments every other week allows your skin to heal properly.
“Knowledgeable at-home users can enhance their skin’s health while minimizing risks.”
By following a standardized process, you can reduce potential injuries and maximize the benefits of microneedling. This includes preparing your skin with antioxidants like vitamin C, which can boost results. Additionally, a guide ensures you’re treating the right area with the correct technique, leading to smoother, firmer skin over time.
For more tips on safe at-home treatments, visit our contact page. With careful planning and adherence to safety steps, you can achieve noticeable improvements in your skin’s texture and appearance.
How to Safely Use Your Dermaroller at Home
Proper preparation and cleanliness are key to effective microneedling sessions. Before you start, it’s essential to disinfect your device and prepare your skin to avoid irritation or infection. Following these steps ensures a safe and successful treatment every time.

Disinfecting Your Device Properly
Start by soaking your roller in 70% isopropyl alcohol for at least 10 minutes. This step kills bacteria and prevents infections. After soaking, rinse the device with clean water and let it air dry on a clean towel. Always disinfect before and after each use to maintain hygiene.
Here’s a quick checklist for disinfection:
- Use 70% isopropyl alcohol for maximum effectiveness.
- Soak the roller for 10 minutes to ensure full sterilization.
- Rinse and air dry on a clean surface.
Effective Cleansing and Skin Preparation
Before you roll, cleanse your skin with a gentle, non-abrasive cleanser. Avoid harsh products that can irritate the skin. Pat your face dry with a clean towel and ensure there’s no makeup or dirt left on the surface. This step minimizes the risk of scarring and irritation.
Follow these tips for skin prep:
- Use a mild cleanser to remove impurities.
- Dry your skin thoroughly before starting.
- Avoid exfoliating products on the same day.
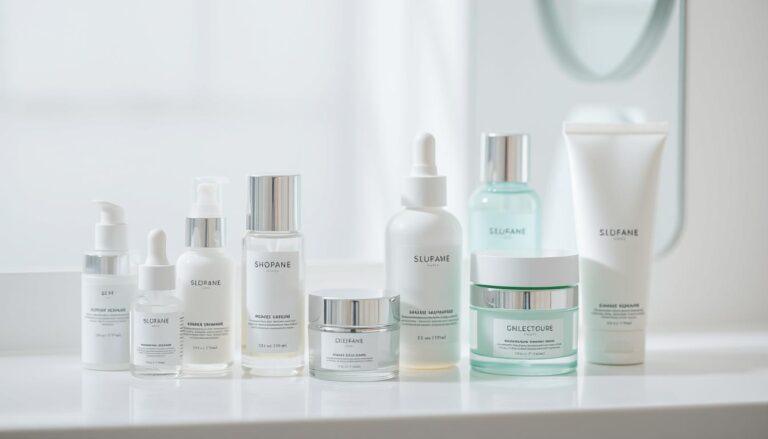
Once your skin is clean, apply a hydrating serum to enhance the treatment’s effectiveness. This step ensures your skin stays hydrated and absorbs the serum better during the rolling process.
Finally, stick to a routine of once per week to allow your skin to heal properly. Overuse can lead to irritation, so spacing out treatments is crucial for long-term results.
Mastering the Step-by-Step Dermarolling Technique
Achieving smoother, healthier skin at home starts with mastering the right rolling technique. Proper application ensures maximum benefits while minimizing risks. Let’s break down the process into simple, actionable steps.

Rolling Directions and Methodology
Start by dividing your face into sections: forehead, cheeks, chin, and nose. This helps ensure even coverage. Roll in one direction, lifting the device after each pass. Avoid going back and forth, as this can irritate the skin.
Here’s how to roll effectively:
- Use gentle pressure—let the needles do the work.
- Roll vertically, horizontally, and diagonally to cover all areas.
- Lift the roller after each stroke to prevent dragging.
This method stimulates collagen production, promoting healing and improving skin texture over time.
Do’s and Don’ts During Application
Following these tips ensures a safe and effective treatment:
- Do disinfect your roller before and after each use.
- Do apply a hydrating serum to enhance absorption.
- Don’t press too hard—gentle pressure is key.
- Don’t use the device on active acne or irritated skin.
Consistency is crucial. With practice, this technique becomes second nature, delivering noticeable results in the comfort of your home.
Choosing the Best Dermaroller and Needle Length for Your Skin
Selecting the right microneedling tool is crucial for achieving your skincare goals. The needle size and material of your device play a significant role in the treatment’s effectiveness and safety. Let’s explore how to make the best choice for your skin type and concerns.

Understanding Needle Sizes and Their Uses
Needle size determines the depth of penetration and the intensity of the treatment. For at-home use, shorter needles (0.25mm to 1.0mm) are recommended. Here’s a breakdown of common sizes and their benefits:
- 0.25mm: Ideal for beginners and sensitive skin. Enhances product absorption and improves skin texture.
- 0.5mm: Perfect for reducing fine lines, wrinkles, and mild acne scars. Stimulates collagen production effectively.
- 1.0mm: Suitable for deeper scars and stretch marks. Requires caution and proper aftercare.
Make sure to choose a size that matches your skin concerns. Starting with a smaller needle is a safe way to ease into the process.
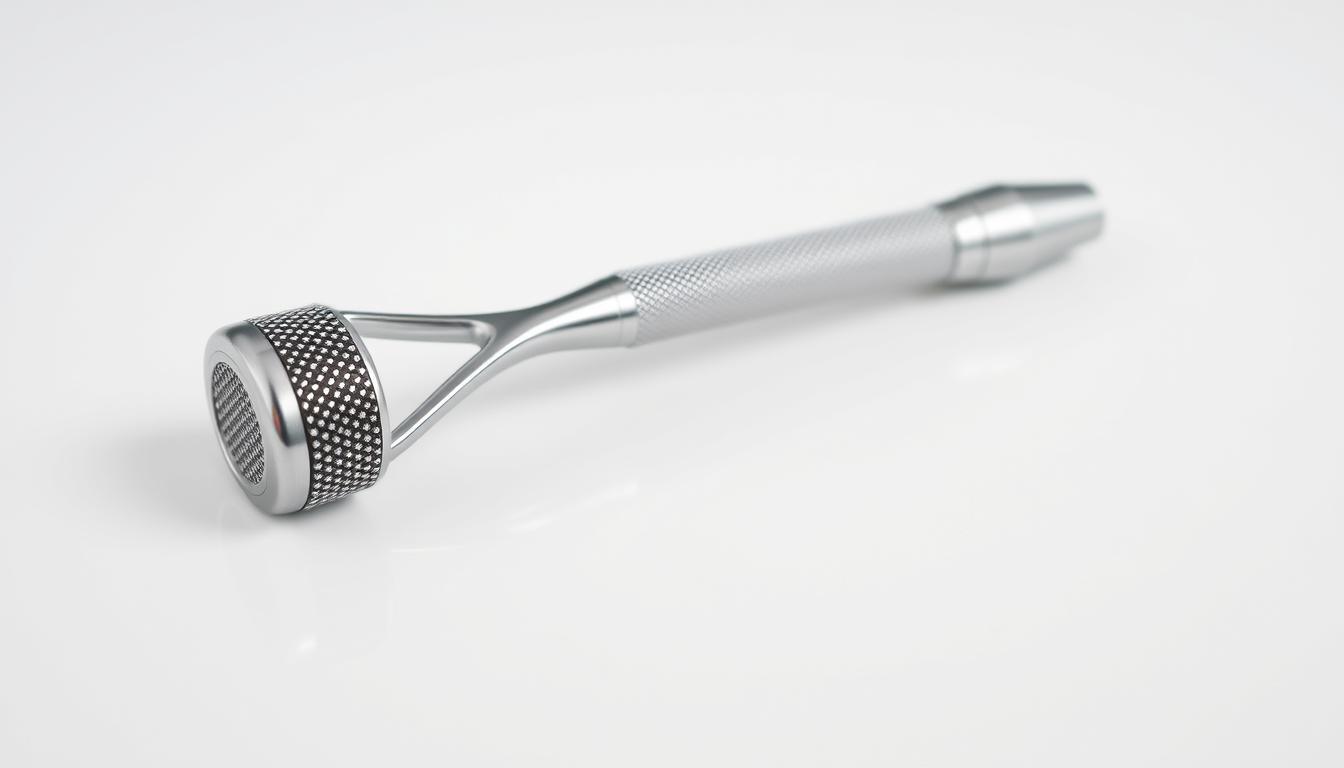
Material Comparisons: Stainless Steel vs. Titanium
The material of the needles also impacts the treatment’s safety and durability. Here’s a quick comparison:
- Stainless Steel: Sharper and more sterile, making it ideal for precise treatments. It’s also cost-effective.
- Titanium: Highly durable and resistant to corrosion. Suitable for long-term use and sensitive skin types.
Both materials have their benefits, so choose based on your skin’s needs and your budget. Make sure to disinfect your device properly, regardless of the material.
By understanding needle sizes and materials, you can select the right tool for your skincare routine. This way, you’ll maximize the benefits of microneedling while minimizing risks. Whether you’re targeting wrinkles, scars, or uneven texture, the right device makes all the difference.
Prepping Your Skin for an Effective Micro-needling Session
Proper skin preparation is the foundation of a successful microneedling session. A clean and smooth surface ensures the treatment works effectively and minimizes risks. Let’s dive into the steps to get your skin ready for the best results.

Cleansing and Exfoliating for Optimal Results
Start by thoroughly cleansing your skin with a gentle, pH-balanced cleanser. This removes dirt, oil, and impurities, creating a pristine surface for the microneedling device. Avoid harsh scrubs or exfoliants on the same day to prevent irritation.
Exfoliation is equally important. A mild chemical exfoliant, used a day before, helps remove dead skin cells. This step enhances product absorption and ensures the needle length penetrates evenly. Remember, over-exfoliating can damage your skin, so moderation is key.
Here are my top tips for skin prep:
- Double cleanse to ensure no residue is left behind.
- Use a hydrating toner to balance your skin’s pH.
- Avoid retinoids and acid-based products 3-7 days before treatment.
Choosing the right needle length is also crucial. For beginners, shorter needles (0.25mm to 0.5mm) are ideal. If you’re targeting deeper concerns like scars, you can gradually increase the length. Always consider your skin’s sensitivity and treatment goals.
This preparatory process not only boosts the effectiveness of your use derma roller but also reduces the risk of infection and irritation. By following these steps, you’ll set the stage for smoother, healthier skin after each session.
Post-Treatment Aftercare and Product Application Tips
Taking care of your skin after microneedling is just as important as the treatment itself. Proper aftercare ensures your skin heals effectively and maximizes the benefits of the procedure. Here’s how to care for your skin and device post-treatment.

Cleaning and Sanitizing Your Device
After each use, cleaning your microneedling tool is crucial to prevent bacterial growth. Start by rinsing the roller with warm water to remove any residue. Then, soak it in 70% isopropyl alcohol for at least 10 minutes. This step ensures the device is fully sanitized.
Here’s a quick guide to cleaning your device:
- Rinse with warm water to remove debris.
- Soak in 70% isopropyl alcohol for 10 minutes.
- Let it air dry on a clean towel before storing.
Proper storage is also essential. Keep your device in its case to protect the needles and maintain hygiene.
Gentle Skincare Post-Treatment
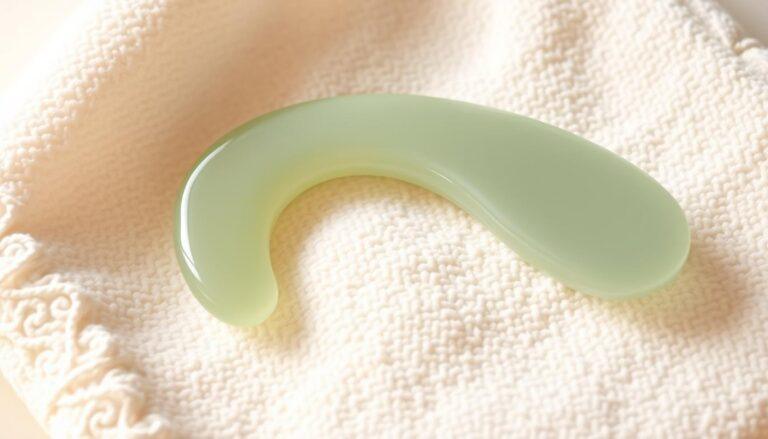
Your skin will be sensitive after microneedling, so avoid harsh products like retinol or vitamin C for at least 24 hours. Instead, focus on soothing and hydrating your skin. Use a gentle moisturizer or hydrating serum to calm irritation and support healing.
For those targeting acne scars, consistent aftercare can enhance results. Apply products with hyaluronic acid or ceramides to keep your skin hydrated and promote recovery. Avoid direct sun exposure and always use a mineral-based sunscreen with SPF 30+ to protect your skin.
Remember, consistent care is key to achieving long-lasting results. By following these steps, you’ll ensure your skin heals properly and maintains its improved texture and appearance.
Enhancing Collagen Production and Long-Term Results
Boosting collagen naturally can transform your skin’s appearance over time. Microneedling stimulates this process, helping your skin produce more collagen and elastin. These proteins are essential for firm, youthful skin. With consistent sessions, you can achieve plumper, smoother skin that looks and feels healthier.

Role of Collagen and Elastin in Skin Rejuvenation
Collagen and elastin are the building blocks of your skin. Microneedling creates tiny punctures that trigger your body’s natural healing process. This leads to increased collagen production, which can reduce fine lines, wrinkles, and scars. Over time, your skin becomes firmer and more elastic.
Studies show that microneedling can increase collagen by up to 400% after just a few sessions. This boost in collagen can last for years, making it a powerful tool for long-term skin health. The key is consistency—spacing out treatments every 3–8 weeks allows your skin to heal and rebuild effectively.
Best Active Ingredients and Serum Application
Choosing the right ingredients for your serum can enhance the results of microneedling. Look for products with hyaluronic acid, peptides, or niacinamide. These ingredients support collagen production and keep your skin hydrated.
Here’s how to apply serums for maximum benefits:
- Use a hydrating serum immediately after your session to soothe the skin.
- Apply products with active ingredients like vitamin C or retinol a few days later to boost collagen.
- Avoid harsh chemicals or exfoliants for at least 24 hours post-treatment.
By combining microneedling with the right ingredients, you can achieve long-lasting improvements in your skin’s texture and appearance. Remember, patience is key—results may take a few sessions, but the effort is worth it.
Conclusion
Consistency and proper technique are the cornerstones of achieving lasting skin improvements with microneedling. By following the right direction during each session, you can maximize the benefits of this treatment. Understanding the science behind collagen production and wound healing is key to seeing steady results over time.
Start with clean, prepped skin and always disinfect your device to avoid infections. Applying gentle pressure and using the correct needle size ensures your skin heals properly. Over the course of a month, you’ll notice firmer, smoother skin as your body produces more proteins like collagen and elastin.
Post-treatment care is just as important. Hydrate your skin and avoid harsh products to support the healing process. With regular sessions, you’ll see a reduction in fine lines, scars, and uneven texture.
Keep educating yourself on technique refinements and product choices. This will help you achieve the best ongoing results for your skin. With patience and dedication, microneedling can transform your skin’s health and appearance.